Quilting for Texture
Quilting for Texture
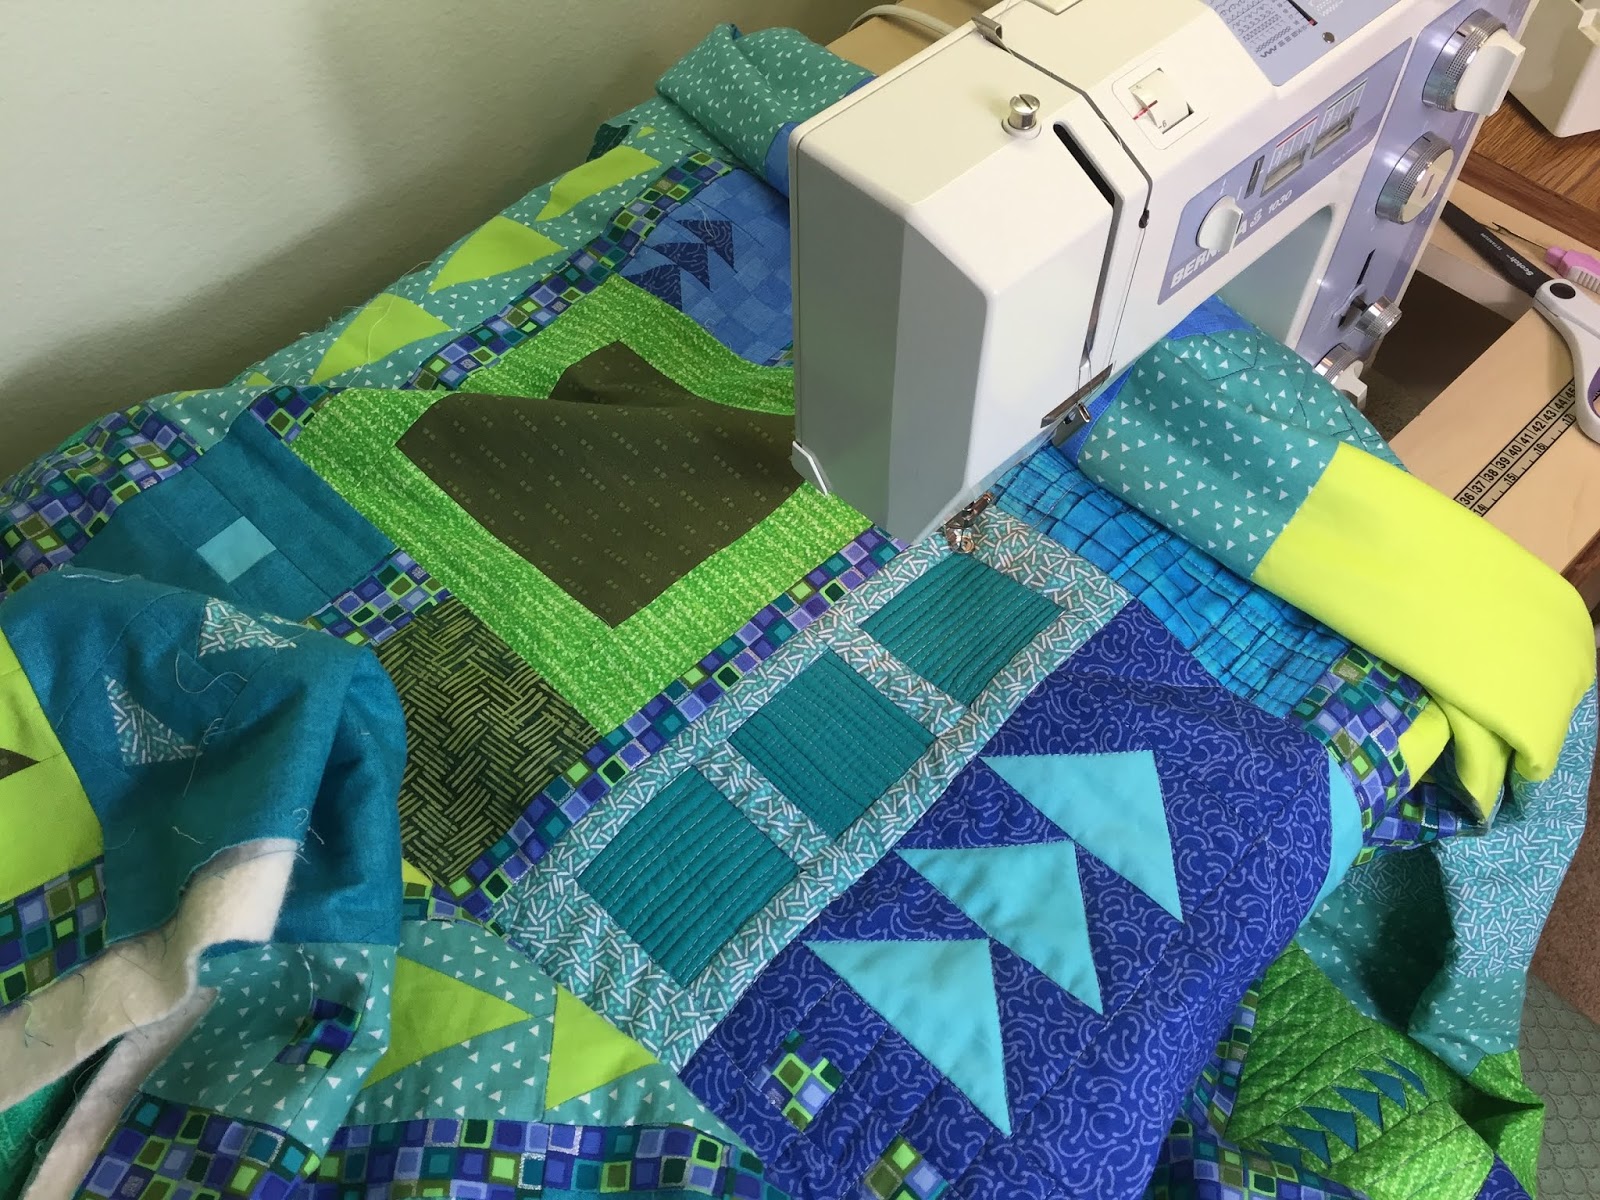
Last week the quilt backing was pieced with remnants of the fabrics used in the top. Batting was sandwiched between the top and the back, ... and the quilting could begin. This is a lap-sized quilt so it is going much faster than usual and, at this point, the quilting is almost complete.
I'm following most of the seam lines to outline the Flying Geese and squares, but adding texture in open areas as I go.
The next step will be to "square it off", making sure the corners of the quilt are at right angles and the edges are straight, (sometimes that's the most aggravating part.) I always try to remember the carpenter's rule of thumb: measure twice, or even three times; you only get one cut. It's sound advice to avoid any heart-breaking mistakes.
There are a few ways to complete a quilt. For this one, lengths of 3.5 inch fabric strips will be sewn together; in this case I need 248 inches for the perimeter. This is doubled over to create a two-ply fabric binding which is sewn to the outside edge on the top of the quilt. Then it is folded again toward the back and hand tacked.
There is still a way to go, but the finish line is in sight...yeah!!!


Comments
Post a Comment