Posts

Showing posts from October, 2021

Project: Scrambled Q's

Image
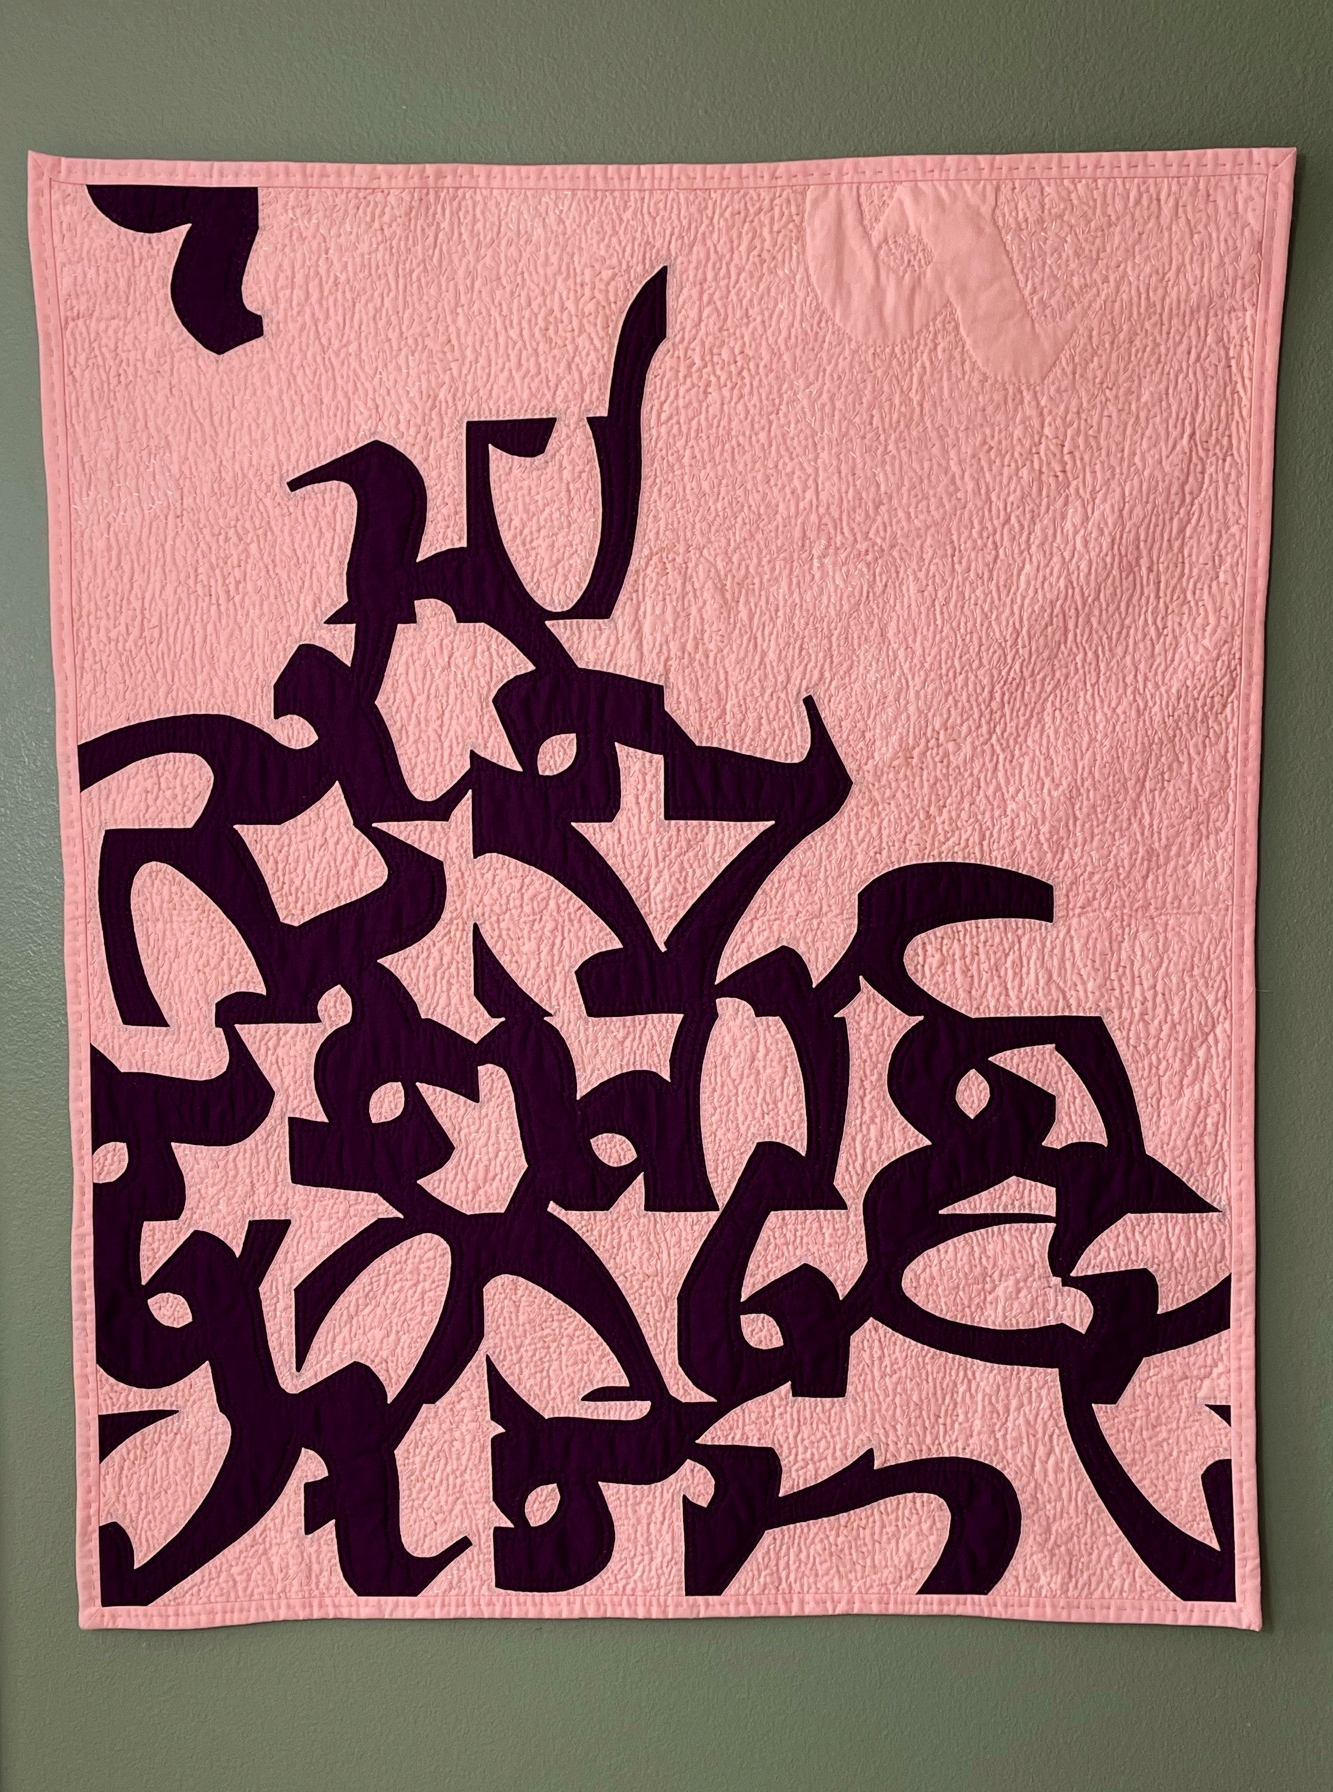
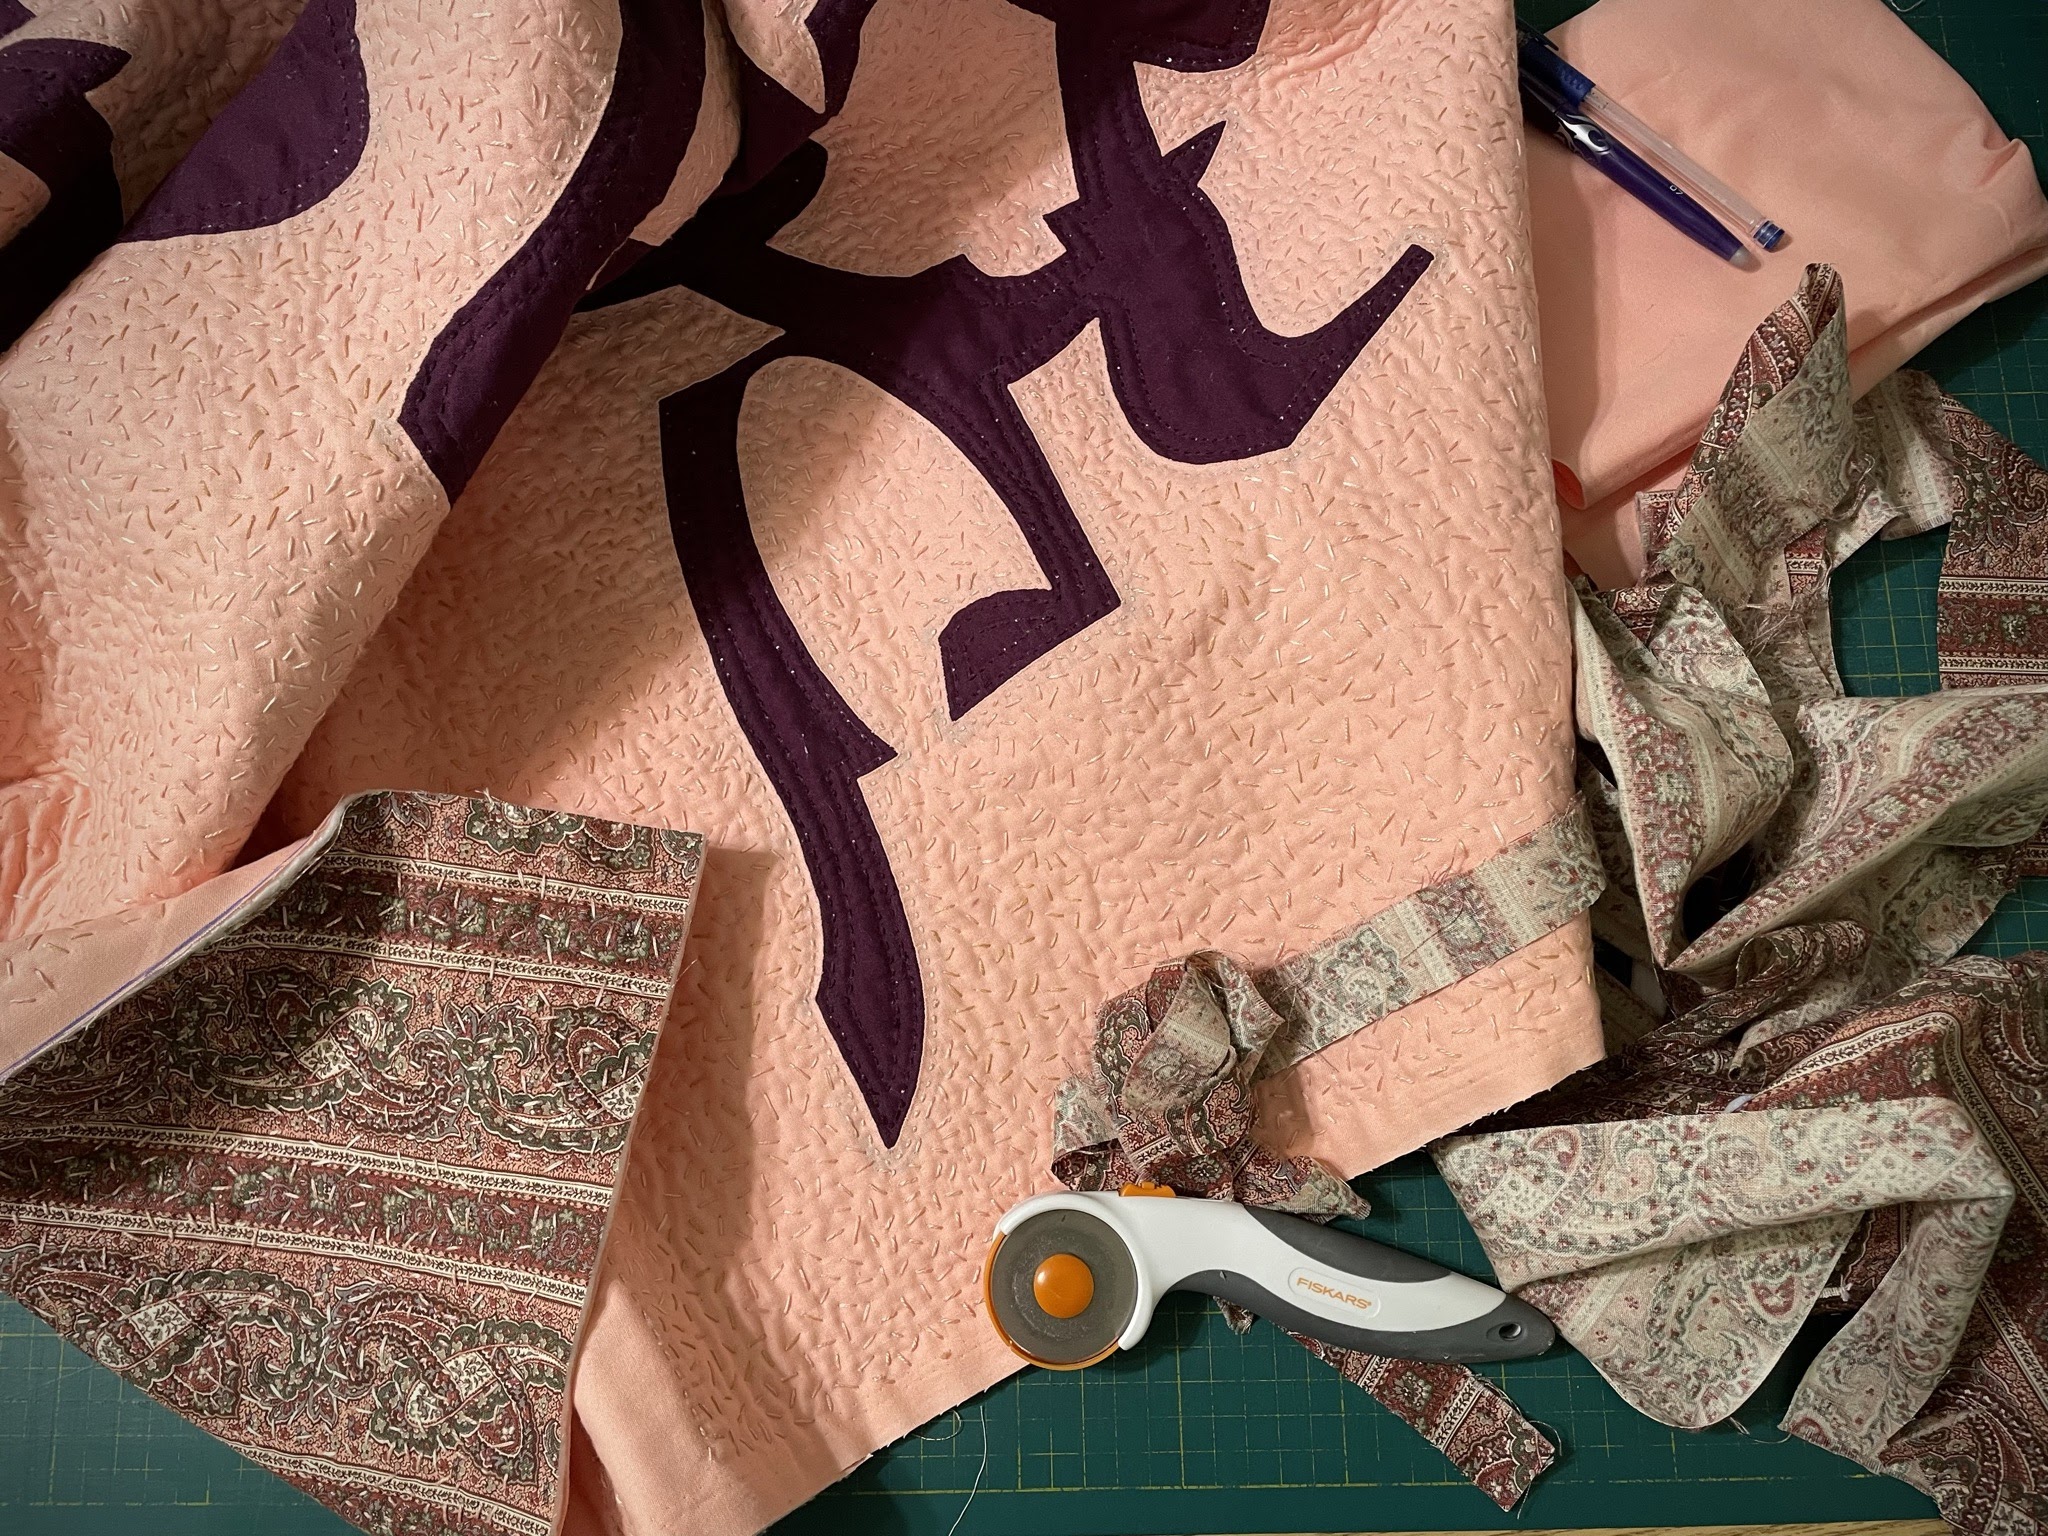
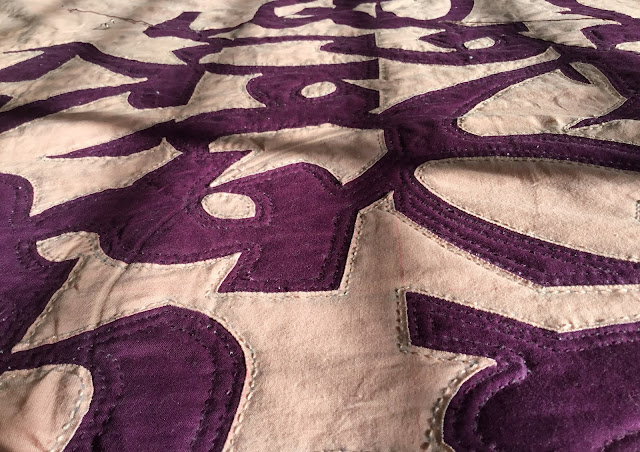
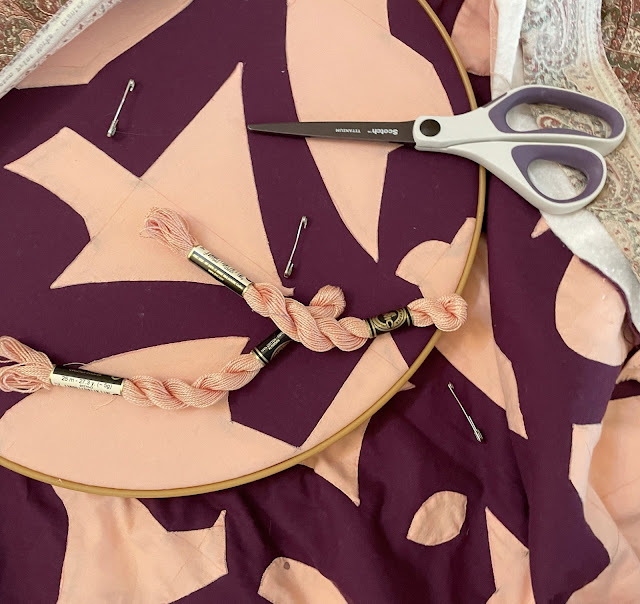
 Done! "Scrambled Q's" was a vacation project, started at the end of August and just completed. It was sewn by hand in reverse appliqué and measures 45 x 37 inches (approx.) The hand quilted background was done with four subtle colors of embroidery floss and a peach pearl cotton, weight #5, to give the background some color variation and surface texture.   As a little hint at my inspiration source, I incorporated the outline of a partial "Q" at the top right edge of the peach background. But, in case you can't identify the letter within the quilt design, I'm reposting my sample "Q" to show the type face used.  This was an experiment with the new (to me) quilting texture I eventually chose for the background of this wall hanging. It could be displayed as a companion piece to "Scrambled Q's."

So Close to Finishing!

Image
Really Sorry to tease this out, but I've run into a little hurdle.  No big deal.  Maybe just a bit frustrating. The quilting is done on this project. And I was excited to square it up and trim away the excess; the end was in sight. Unfortunately, I've found that I didn't get enough yardage of the peach color for a binding to finish off the edge. I'm about 20 inches short. I didn't think of that when I took a detour to make a mini quilt with the same colors. Tsk, tsk. I suppose, if I had over estimated and ended up with lots of this color, right now I would probably be shaking my head and wondering what I would do with it all.  I could make due, but this project has been a labor of love, lots of hours, and more than one pin prick. A fabric store run is required to realize the full vision.  Bear with me, folks. I think it will be worth it.  😉

Progress Report on Hand Quilting

Image
"Q" Number 2 Still working on my latest wall hanging; progress can be slow when hand quilting. The shapes are all outlined with a running stitch and, at this point, choices have to be made about how to quilt the open spaces in the background.  There are so many options! So I decided to create a mini quilt,- my second " Q is for quilting." This has given me an opportunity to experiment with some new textures in the background, before applying them to the larger version.  There are six choices here, and they would each add interest to the piece. But they would also each give the quilt a very different look.  Stay tuned for the final reveal...

Basics of Reverse Appliqué

Image
Travel Project Near Completion The hand work project that I took on vacation is in the quilting phase of the process now. I anticipate being able to reveal the final piece next week. In the meantime, I thought I'd give a general overview of the reverse appliqué process. The first thing to understand is the difference between appliqué and reverse appliqué .  Appliqué is essentially an adding process; a shape is cut from one fabric and sewn in place on a second background fabric.  Reverse appliqué is basically the opposite; it is a subtracting process. The supply list for this technique is very short: two pieces of fabric (with the same dimensions) and thread. The only other things needed are a needle for hand sewing, a good pair of scissors, and lots of time and patience. This makes it an ideal travel project, assuming you are checking your bag with the scissors when you travel.  Step 1   Shapes are drawn out on the background fabric, as if drawing on a piece of paper.  Step 2