Basics of Reverse Appliqué
Travel Project Near Completion
The hand work project that I took on vacation is in the quilting phase of the process now. I anticipate being able to reveal the final piece next week. In the meantime, I thought I'd give a general overview of the reverse appliqué process.
The first thing to understand is the difference between appliqué and reverse appliqué.
Appliqué is essentially an adding process; a shape is cut from one fabric and sewn in place on a second background fabric.
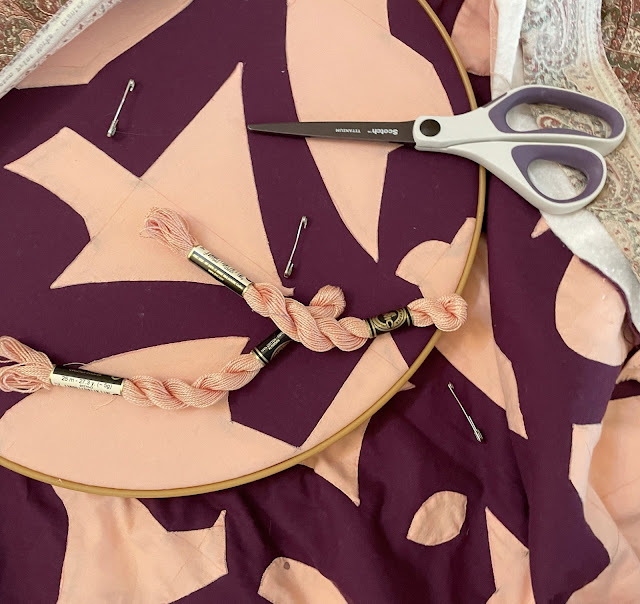
Reverse appliqué is basically the opposite; it is a subtracting process. The supply list for this technique is very short: two pieces of fabric (with the same dimensions) and thread. The only other things needed are a needle for hand sewing, a good pair of scissors, and lots of time and patience. This makes it an ideal travel project, assuming you are checking your bag with the scissors when you travel.
- Step 1 Shapes are drawn out on the background fabric, as if drawing on a piece of paper.
- Step 2 The prepared background fabric is placed on top of the second fabric which is right side up. They are then basted together.
- Step 3 Fabric is carefully cut within the unbasted areas, allowing for enough edge to be turned under and sewn in place, thus revealing a shape in the fabric below.
- Step 4 When all the shapes have been revealed, the basting stitches are removed and the excess fabric trimmed away on the back side.
It may sound like a lot of work, but this is a very versatile technique. Reverse appliqué can free the quilter to achieve even more with their designs. It's a great tool in your "tool box for creativity!"


Comments
Post a Comment