T-Shirt Quilt Tutorial (2 of 2)
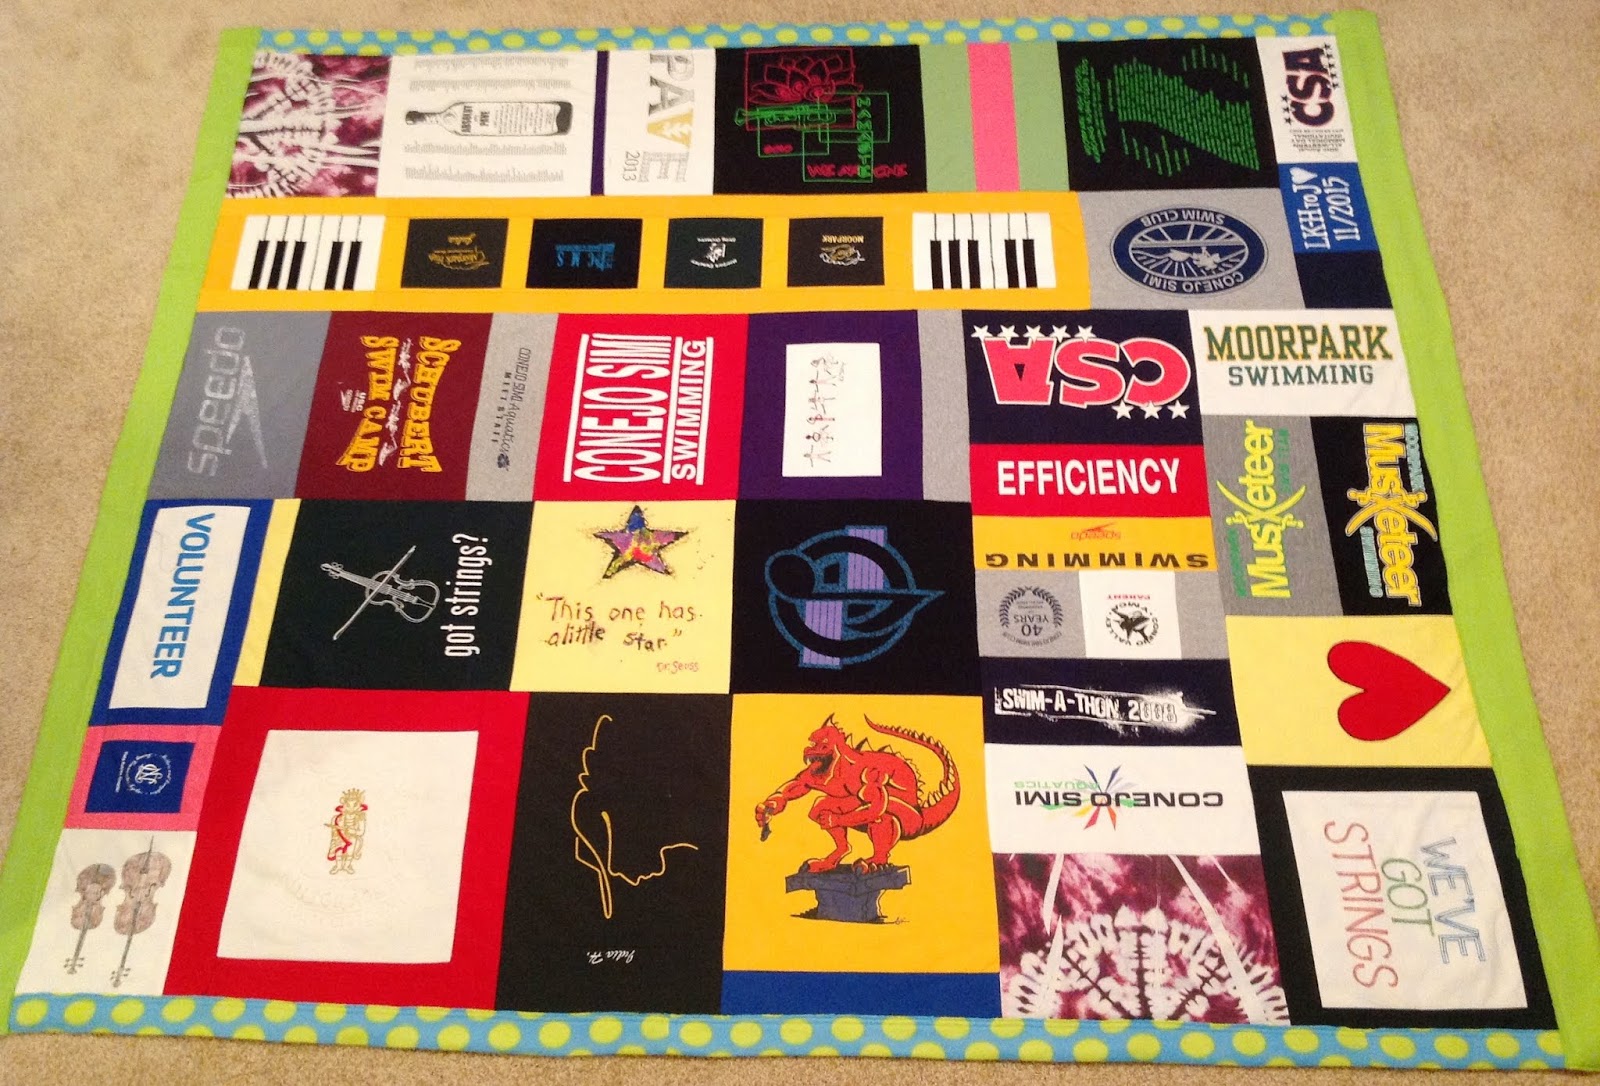
T-shirt quilt #2, 2015
The two t-shirt quilts I tackled got complicated, but you can keep it simple with large squares, straight seams and basic gridding. Let me share some tips I learned along the way.
Supplies:
Since t-shirts and sweatshirts
are made of a knit fabric that stretches, all fabric in
this project should be stabilized with light/medium weight fusible (iron-on) interfacing. You will need a lot of this relatively inexpensive item.
Tip 1- Iron the
interfacing to the inside of the garment before you cut out your square.
Tip 2- Many garments
have thickly printed images which will melt under direct heat from the iron. If you must iron the right
side of the fabric, place a piece of white cotton fabric over it and watch the heat setting on the iron. (You may also find
this helpful when working with the interfacing.)
Process:
It is easiest if all blocks are the same size. Before cutting, lay out all the garments
to determine the finished dimensions for your block squares. Remember to calculate a
seam allowance around each image, (¼ inch or more on each side), so you don’t
lose part of the image in the seams when the blocks are sewn together.
There will be lots of extra fabric from the backs of garments.
If you come up short for any reason, this fabric can help fill space with solid blocks of color. It can also be used to meet the final block dimensions when you want to include small logos from sleeves,
images that get too close to armholes/necklines, or other problems that make it difficult to
get the size you need. To increase
the size of a square, cut strips from a t-shirt back. Add a strip to the two lengths of the square and
then add strips to the remaining widths; this will center the image in the
border.
Block contruction illustrated
When your blocks are prepared, it is helpful to lay them all out before they are assembled. Experiment with their placement.
Tip 3- Take a quick cell pic of the final lay-out
of your blocks, in case things get jumbled during the assembly
process.
This quilt does not need batting between the top and
bottom layers, but it does need a backing to hide the interfacing. Since the
top can be stiff and scratchy from the printing on the fabric, I chose a cozy polar
fleece for my backings. However, a nice flannel would be lighter and just as cozy as the polar fleece. The
dimensions of your quilt will determine how much backing fabric you will need. If
you add an extra several inches around the outside, you can flip that extra fabric to
the front for a soft finished edge.
Sewing the block rows to the backing creates one of the axes of the quilting grid that appears on the back. Since you have sewn the rows in the longest length, you will have fewer seams when sewing these rows to the backing. This method of construction is called “quilt
as you go.” To start, lay out your backing right side down and mark the top and side margins so you
can center your rows and still have the extra fabric to flip forward for the
finished edge.
Tip 4- Painters
tape works well for marking because it is easy to remove, but any marking that doesn’t bleed through the fabric will be hidden inside the quilt.
Center your first row
of blocks along the straight line at the top of your backing, right side up. To
avoid any shifting of the first row, sew across the top edge before continuing
to the next step. Place the second row on top of the first, right sides
together, pin it down generously, and sew in place. Unfold and flatten the second row. Now
you have two rows complete. (If you need to lightly press the rows, remember to
cover the t-shirt fabric with cotton before applying low heat.) Continue adding rows by pinning them to the previous rows and sewing them in place.
Tip 5- At a certain point this is going to get cumbersome. Roll the quilt along the edge like a jelly roll to make it easier to get through your machine. When the roll gets too large, switch and jelly roll the unfinished edge to add the remaining rows.
When all the
rows are sewn to your backing, stitch in the other direction through all thicknesses to
complete the longitude/latitude quilting grid and tack down each block completely. The exposed edges of the backing can then be
folded to the front and sewn in place to finish off your quilt. Polar fleece
does not need to be turned under because it doesn’t fray, but corners can be very bulky with several layers. To reduce bulk, a square matching the depth of your edging can be trimmed out at the corner's point; if you’re folding 2 inches to the front along the length and width, you will need to cut a 2x2 square. Fold one length over the other and sew through all layers for a flat corner.
This is not meant to be a "Sunday Best" quilt, so don't worry about making mistakes. (Your t-shirts were headed to the trash bin anyway.) It's a utilitarian blanket that may end up in the back of your car, or spread out for a picnic, or covering your pet's favorite spot on the couch. In any case it will bring a smile to your lips as it calls to mind warm memories.
Happy Sewing!


Comments
Post a Comment